One of the features I added to the new Daily Maui Photo website was automatic publishing to Facebook and Twitter. In this post, I outline the steps used to publish this feed with twitterfeed using an RSS feed. I previously hinted at how this is also done with Facebook, but I’ll share those specifics in a future post.
Intro to Twitterfeed
As with anything involving Twitter, there are a dozen different ways or services to essentially do the same thing. After some initial research, I dove into twitterfeed and have been happy with the results. Any other service out there will likely have similar setup steps.
The concept is simple: you just create an account, add an RSS feed from a blog or website, and configure the schedule for publishing. I found Twitterfeed’s website for all of this very easy to use, and was up and running in under 5 minutes.
Create an Account
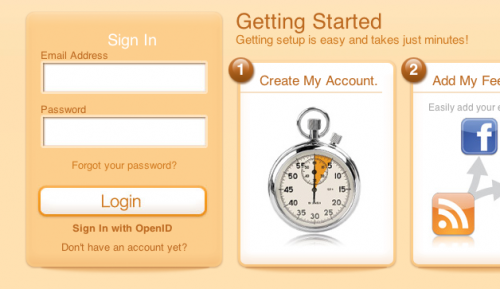
Like many online services these days, twitterfeed supports account sign-up using existing services so you don’t have to remember yet another username and password. For my preference, I chose to use my Google Account, but there are other options as well.
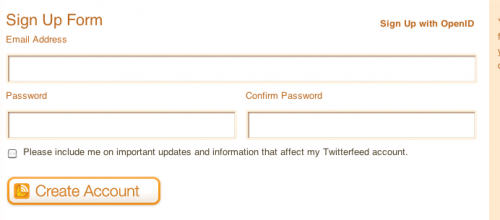
Pick a username and password or Sign Up with OpenID.
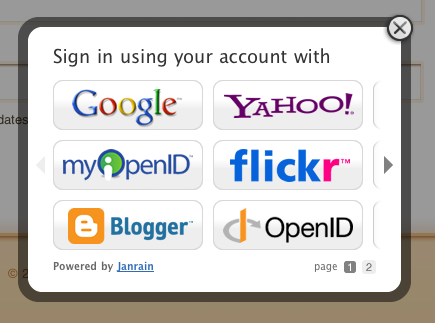
If using OpenID, select your service of choice.
Add an RSS Feed
Once you have an account, you’re in. The next step is to supply an RSS feed and give it a name for your reference.

Supply an RSS Feed and give it a name for reference.
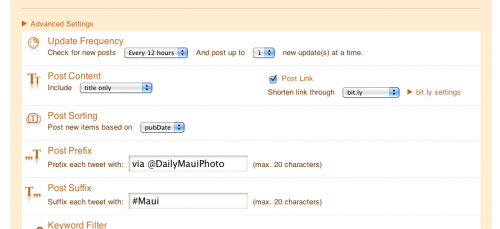
You could leave it at that, or get a little more hands on with the Advanced Settings. Here are some of the specifics I chose in my case:
- Update Frequency – since the RSS Feed I’m using for this example is a auto-generated feed, I know it posts the same time every 24 hours. I specified a 12 hour update setting to cut the gap between that publish time and when twitterfeed runs.
- Post Content – I chose just the Title Only option and the default link shortener.
- Post Prefix – in this example, I threw in the Twitter handle for site this feed is pulled from, @DailyMauiPhoto.
- Post Suffix – here, I also opted to include the hashtag #Maui with these posts.
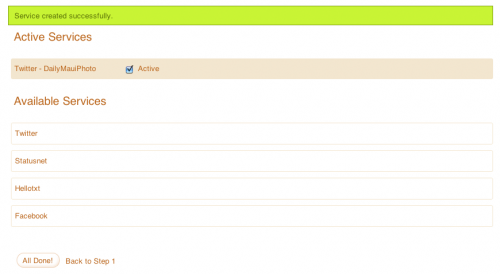
With the feed setup complete, you’ll see a confirmation and menu for the next step.
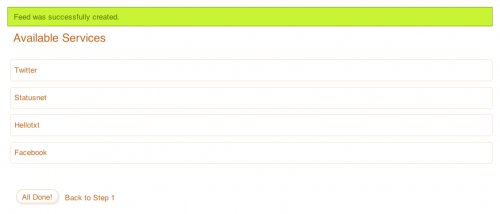
Confirmation of RSS Feed and next options.
Configure Publishing Account
With the feed ready, the last step is to specify your Twitter account and you’re done.
From the previous screen, click on Twitter under Available Services and you’ll have the following view:
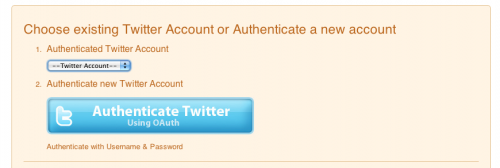
Select an existing Twitter account in your Twitterfeed settings, or click Authenticate.
When assigning a new Twitter account, you’re taken to the familiar Twitter Authorization screen.
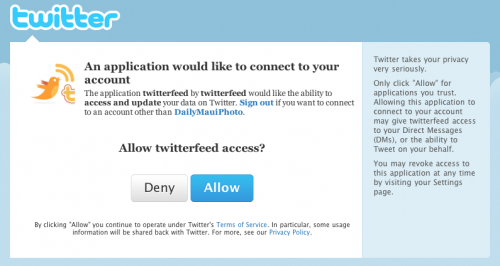
Standard Twitter authorization screen, click Allow to continue.
One optional step is to supply your Twitter handle (with the @ symbol) in the Campaign field under the UTM settings as shown below. This is will show up in Google Analytics to show which Twitter user was responsible for the referral, but also allow developers to customize the landing page content to reference your Twitter account, too.
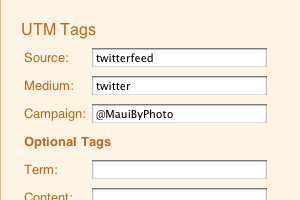
Optionally, add your Twitter handle as the Campaign setting.
Depending on the site owner, they can reference that campaign setting used in the link to customize content on their website referencing your account. Here’s an example for a link from @MauiByPhoto.
Once you’re done with the Twitter settings, you see another confirmation screen. Click All Done and, well, you’re all done!
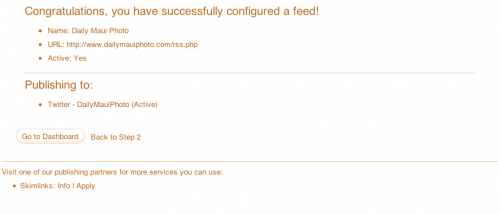
You’re welcome to configure multiple services for publishing, but at the end of you’re setup, you’ll see a summary screen to make sure you’re settings are correct.
And That’s a Wrap
See, I told you it was painless and you can be up and running in minutes.
If you’d like to try it out, you’re more than welcome to use my Maui feed at http://www.dailymauiphoto.com/rss.php. That is, of course, if you don’t mind sharing a new photo of the beautiful island of Maui with your followers everyday. 🙂

